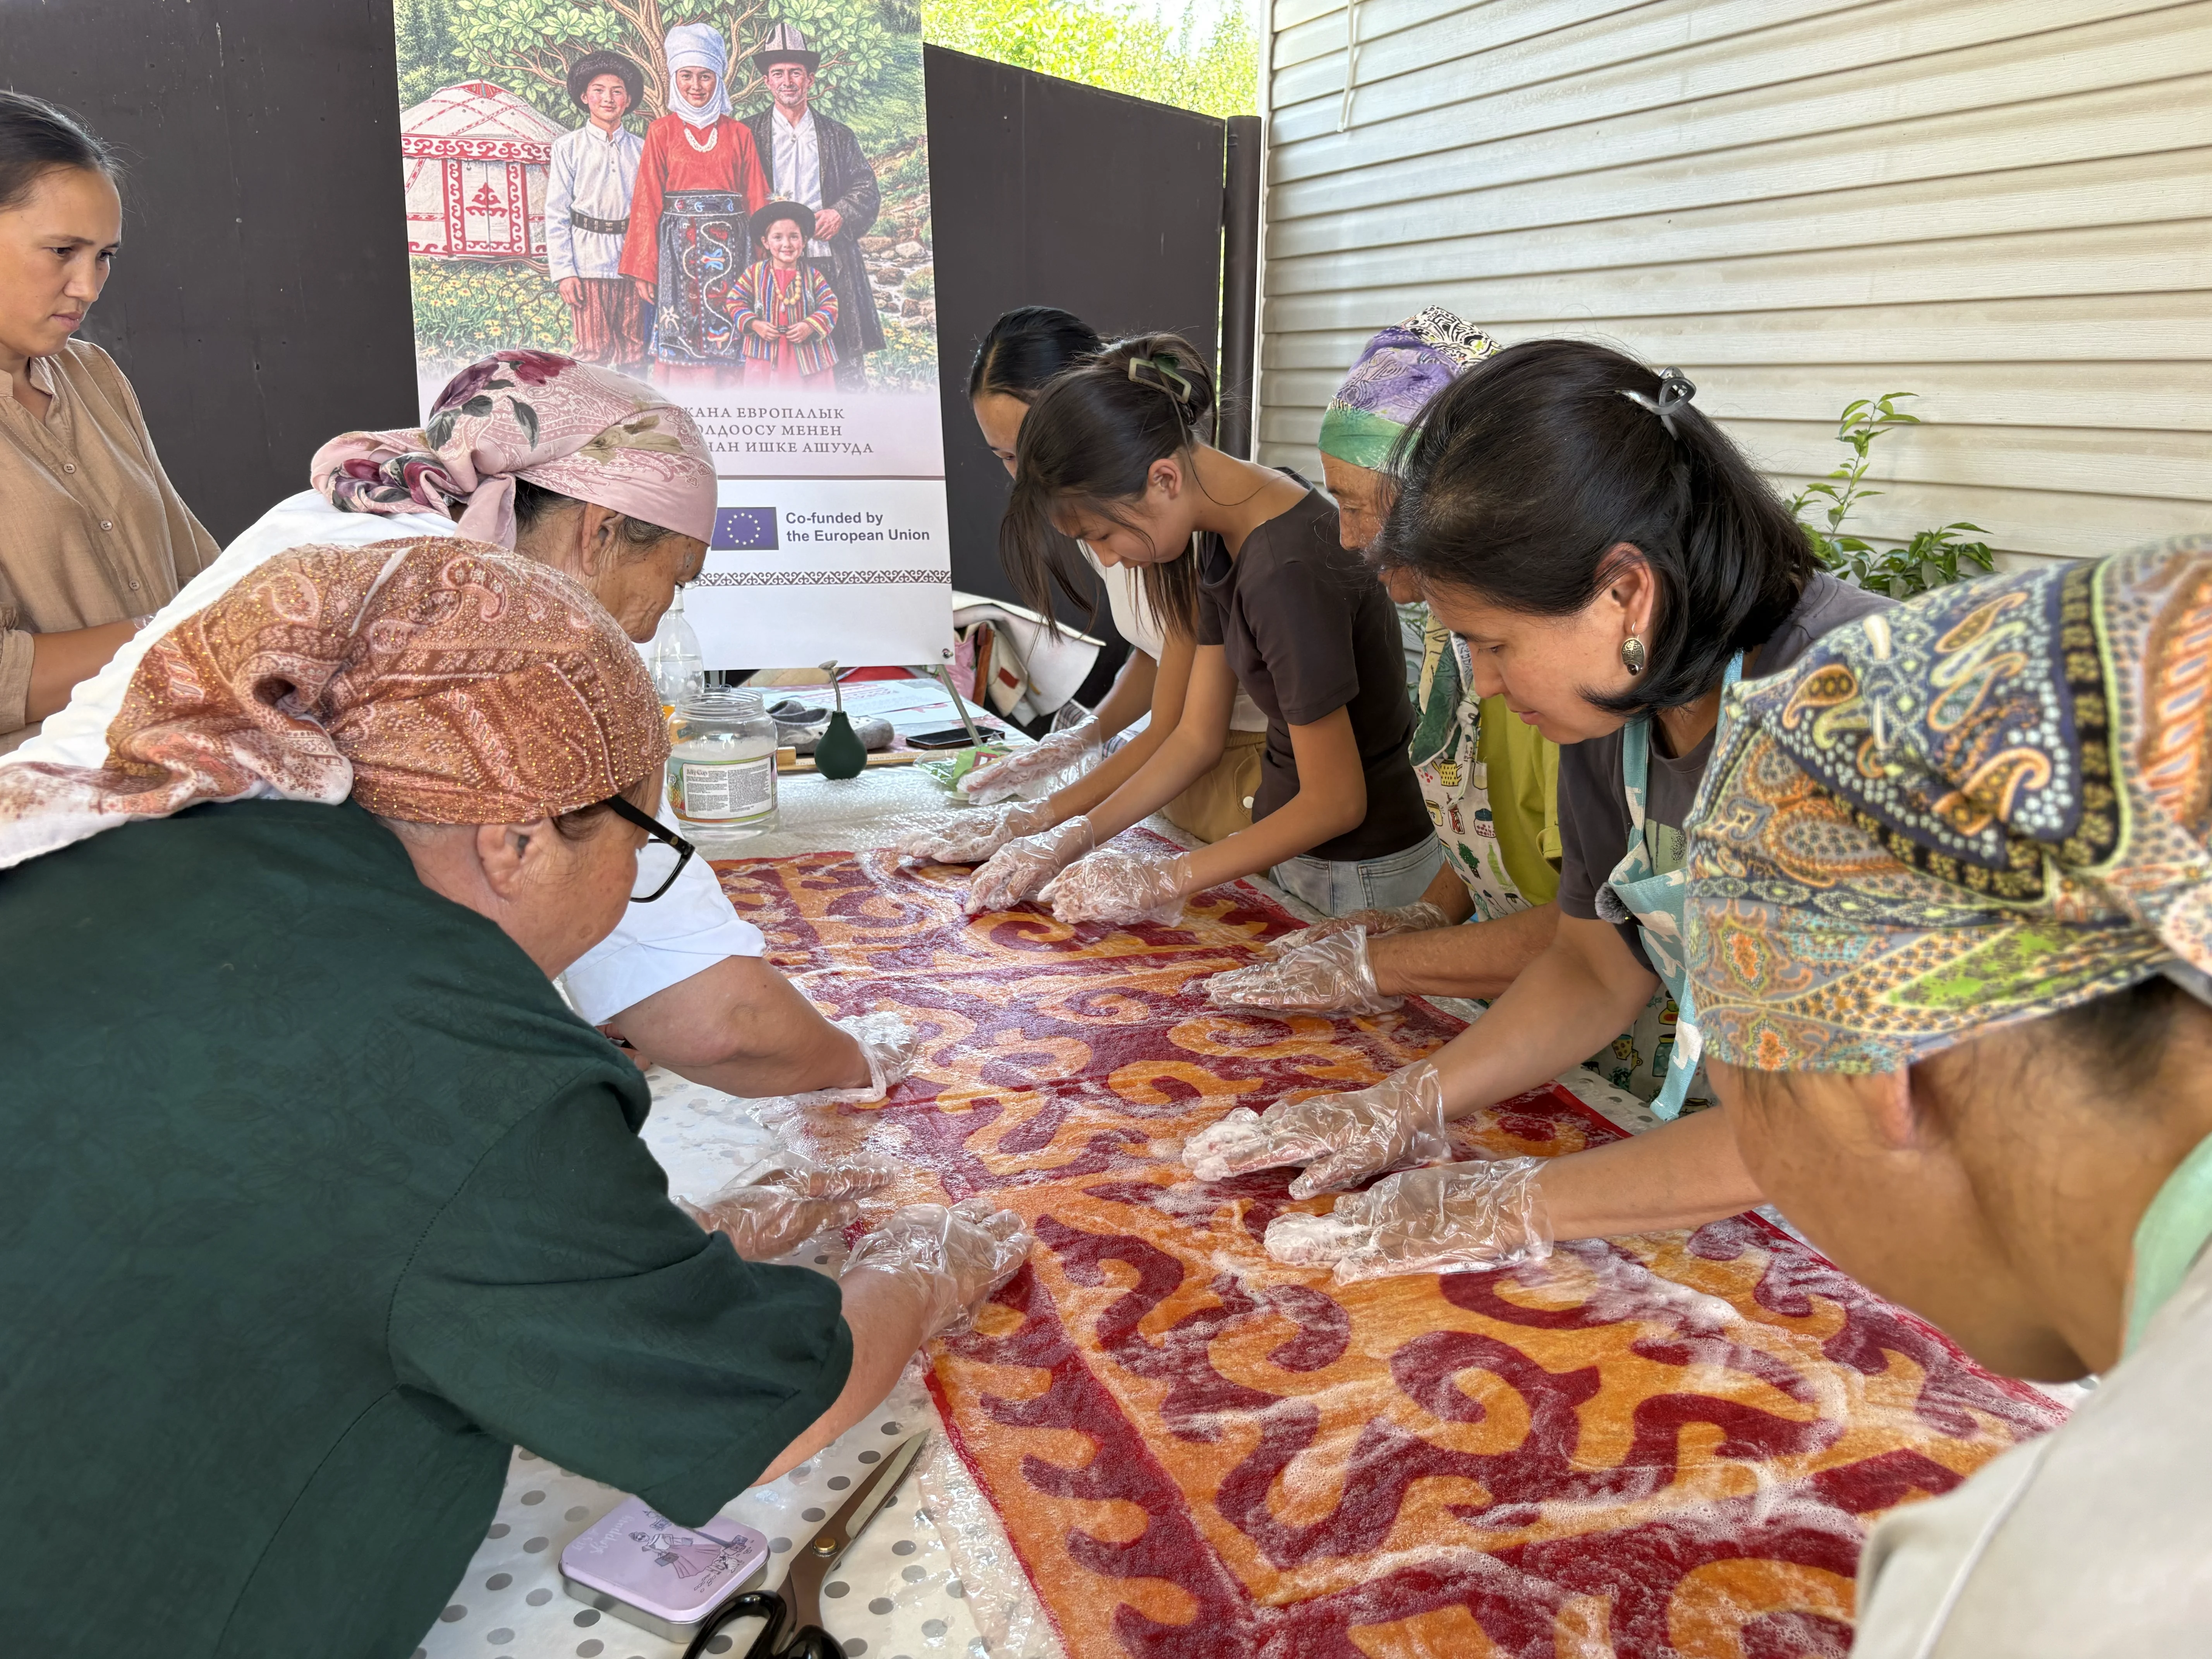


Craftswomen wetting the laid-out pattern on the worktable

NUNO FELT

Making nuno felt: A traditional shyrdak-technique pattern on silk

“Nuno felt is a graceful fusion of ancient traditions and modern design. The technique joins dense merino wool fibres with the finest natural silk, creating light, supple textiles with Kyrgyz ornament. The process demands jeweller-like precision, for the pattern is born directly on the fabric as the two are felted together.”

The step-by-step process

  1. Creating the prefelt

  2. Designing and cutting the ornament

  3. Artistic layout on silk

  4. Bonding the materials and nuno felting

Creating the prefelt (a loose blank for the patterns)

The birth of the future piece begins with the meditative making of a wool cloth — the prefelt. Impeccable precision of the hands matters here: the wool is laid out layer by layer, forming a weightless yet stable base. Water and soap gently bind the fibres, turning loose strands into a single breathing expanse, ready to become the ground for the ancient ornament. This is the foundation of the piece, demanding sensitivity and patience.
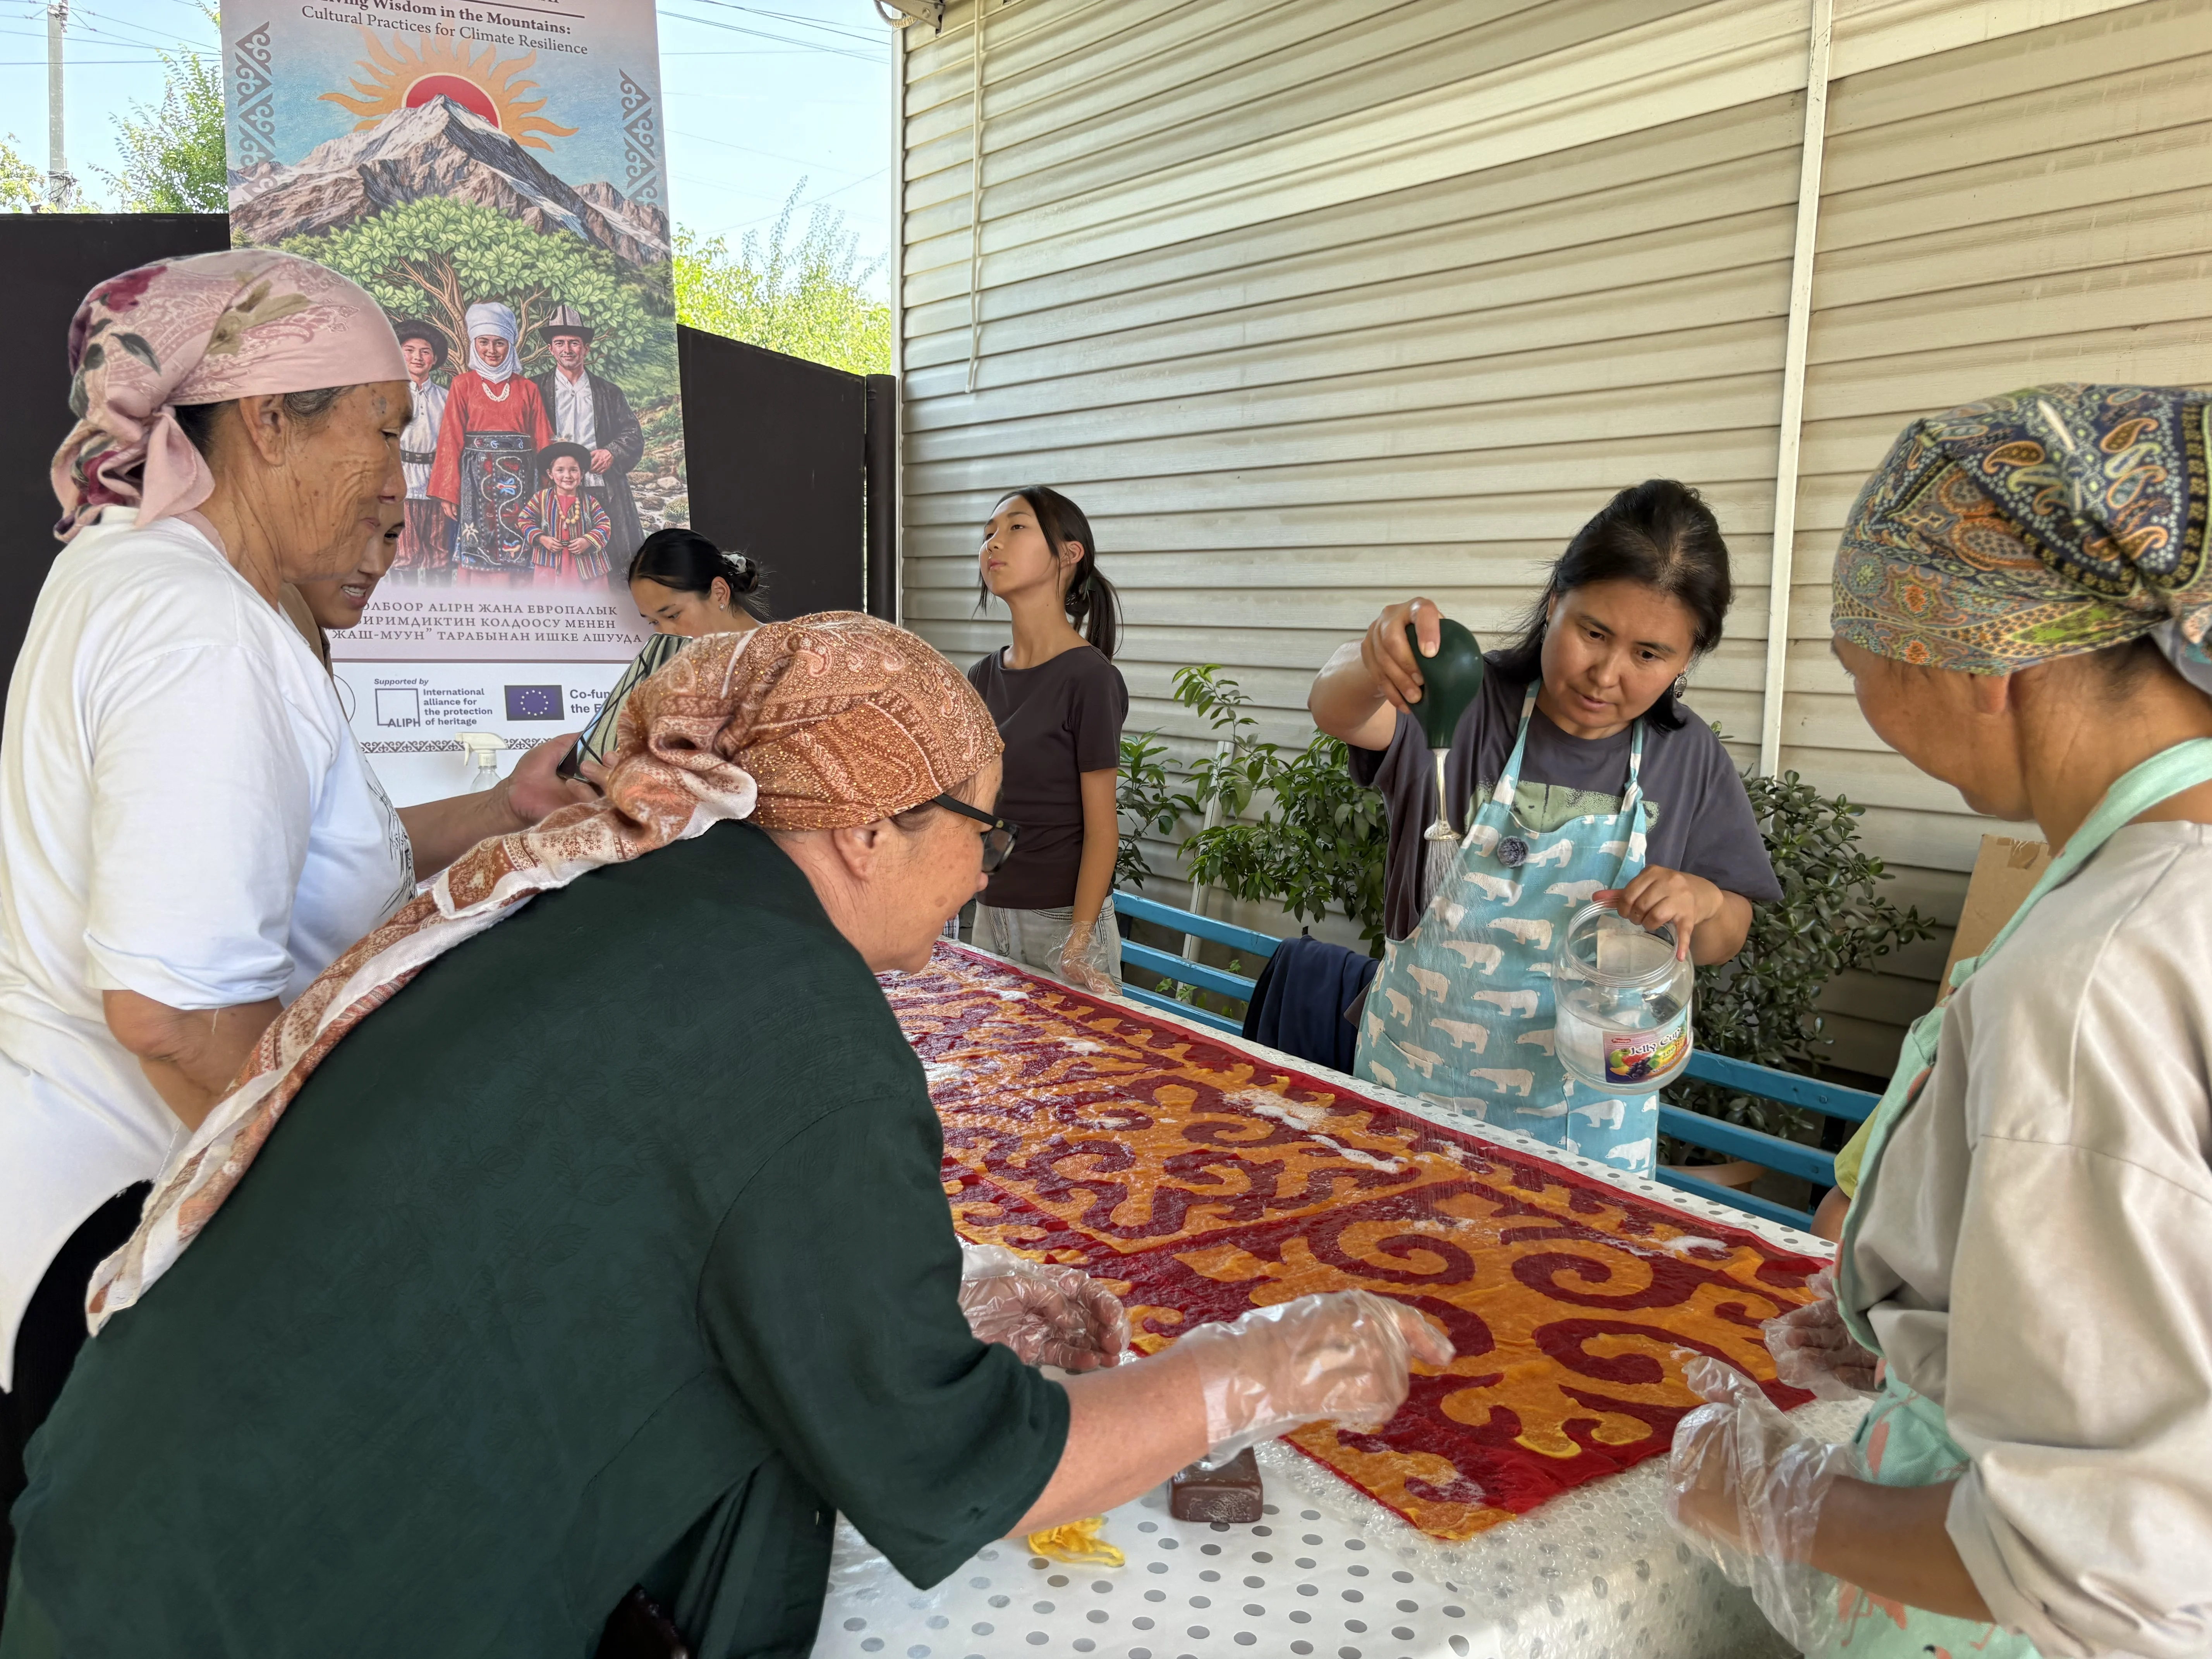
Craftswomen wetting the laid-out pattern on the worktable
  • Laying out Since two contrasting colours are used, prepare two separate prefelt cloths of 60/70 × 100 cm. Lay the merino wool on the bubble wrap in thin layers using the perpendicular technique: lay the first layer strictly along the length (100 cm) and the second across the width (60/70 cm). This layout makes the cloth stable and easier to cut the pattern from.
  • Rubbing in Prepare the soap solution. Pour it generously over the wool from the watering can, cover with the free side of the wrap and press gently with your palms so it soaks evenly. Remove the top wrap, taking care not to pull the fibres. With gloves on, make light circular motions until the fibres just begin to bond (an orbital sander can be used at this point).

Important: Control the density of the prefelt. The cloth must stay loose and airy, yet stop coming apart in layers.
Designing and cutting the ornament

At this stage the maker becomes artist and geometer. Inspired by the lines of the Kyrgyz mountains and steppe winds, we transfer the sketch onto the wool cloth. Cutting the shyrdak pattern is jeweller's work, where the two contrasting colours must match each other perfectly. Every flowing line and curve carries sacred meaning and harmony that will later come alive on the silk.

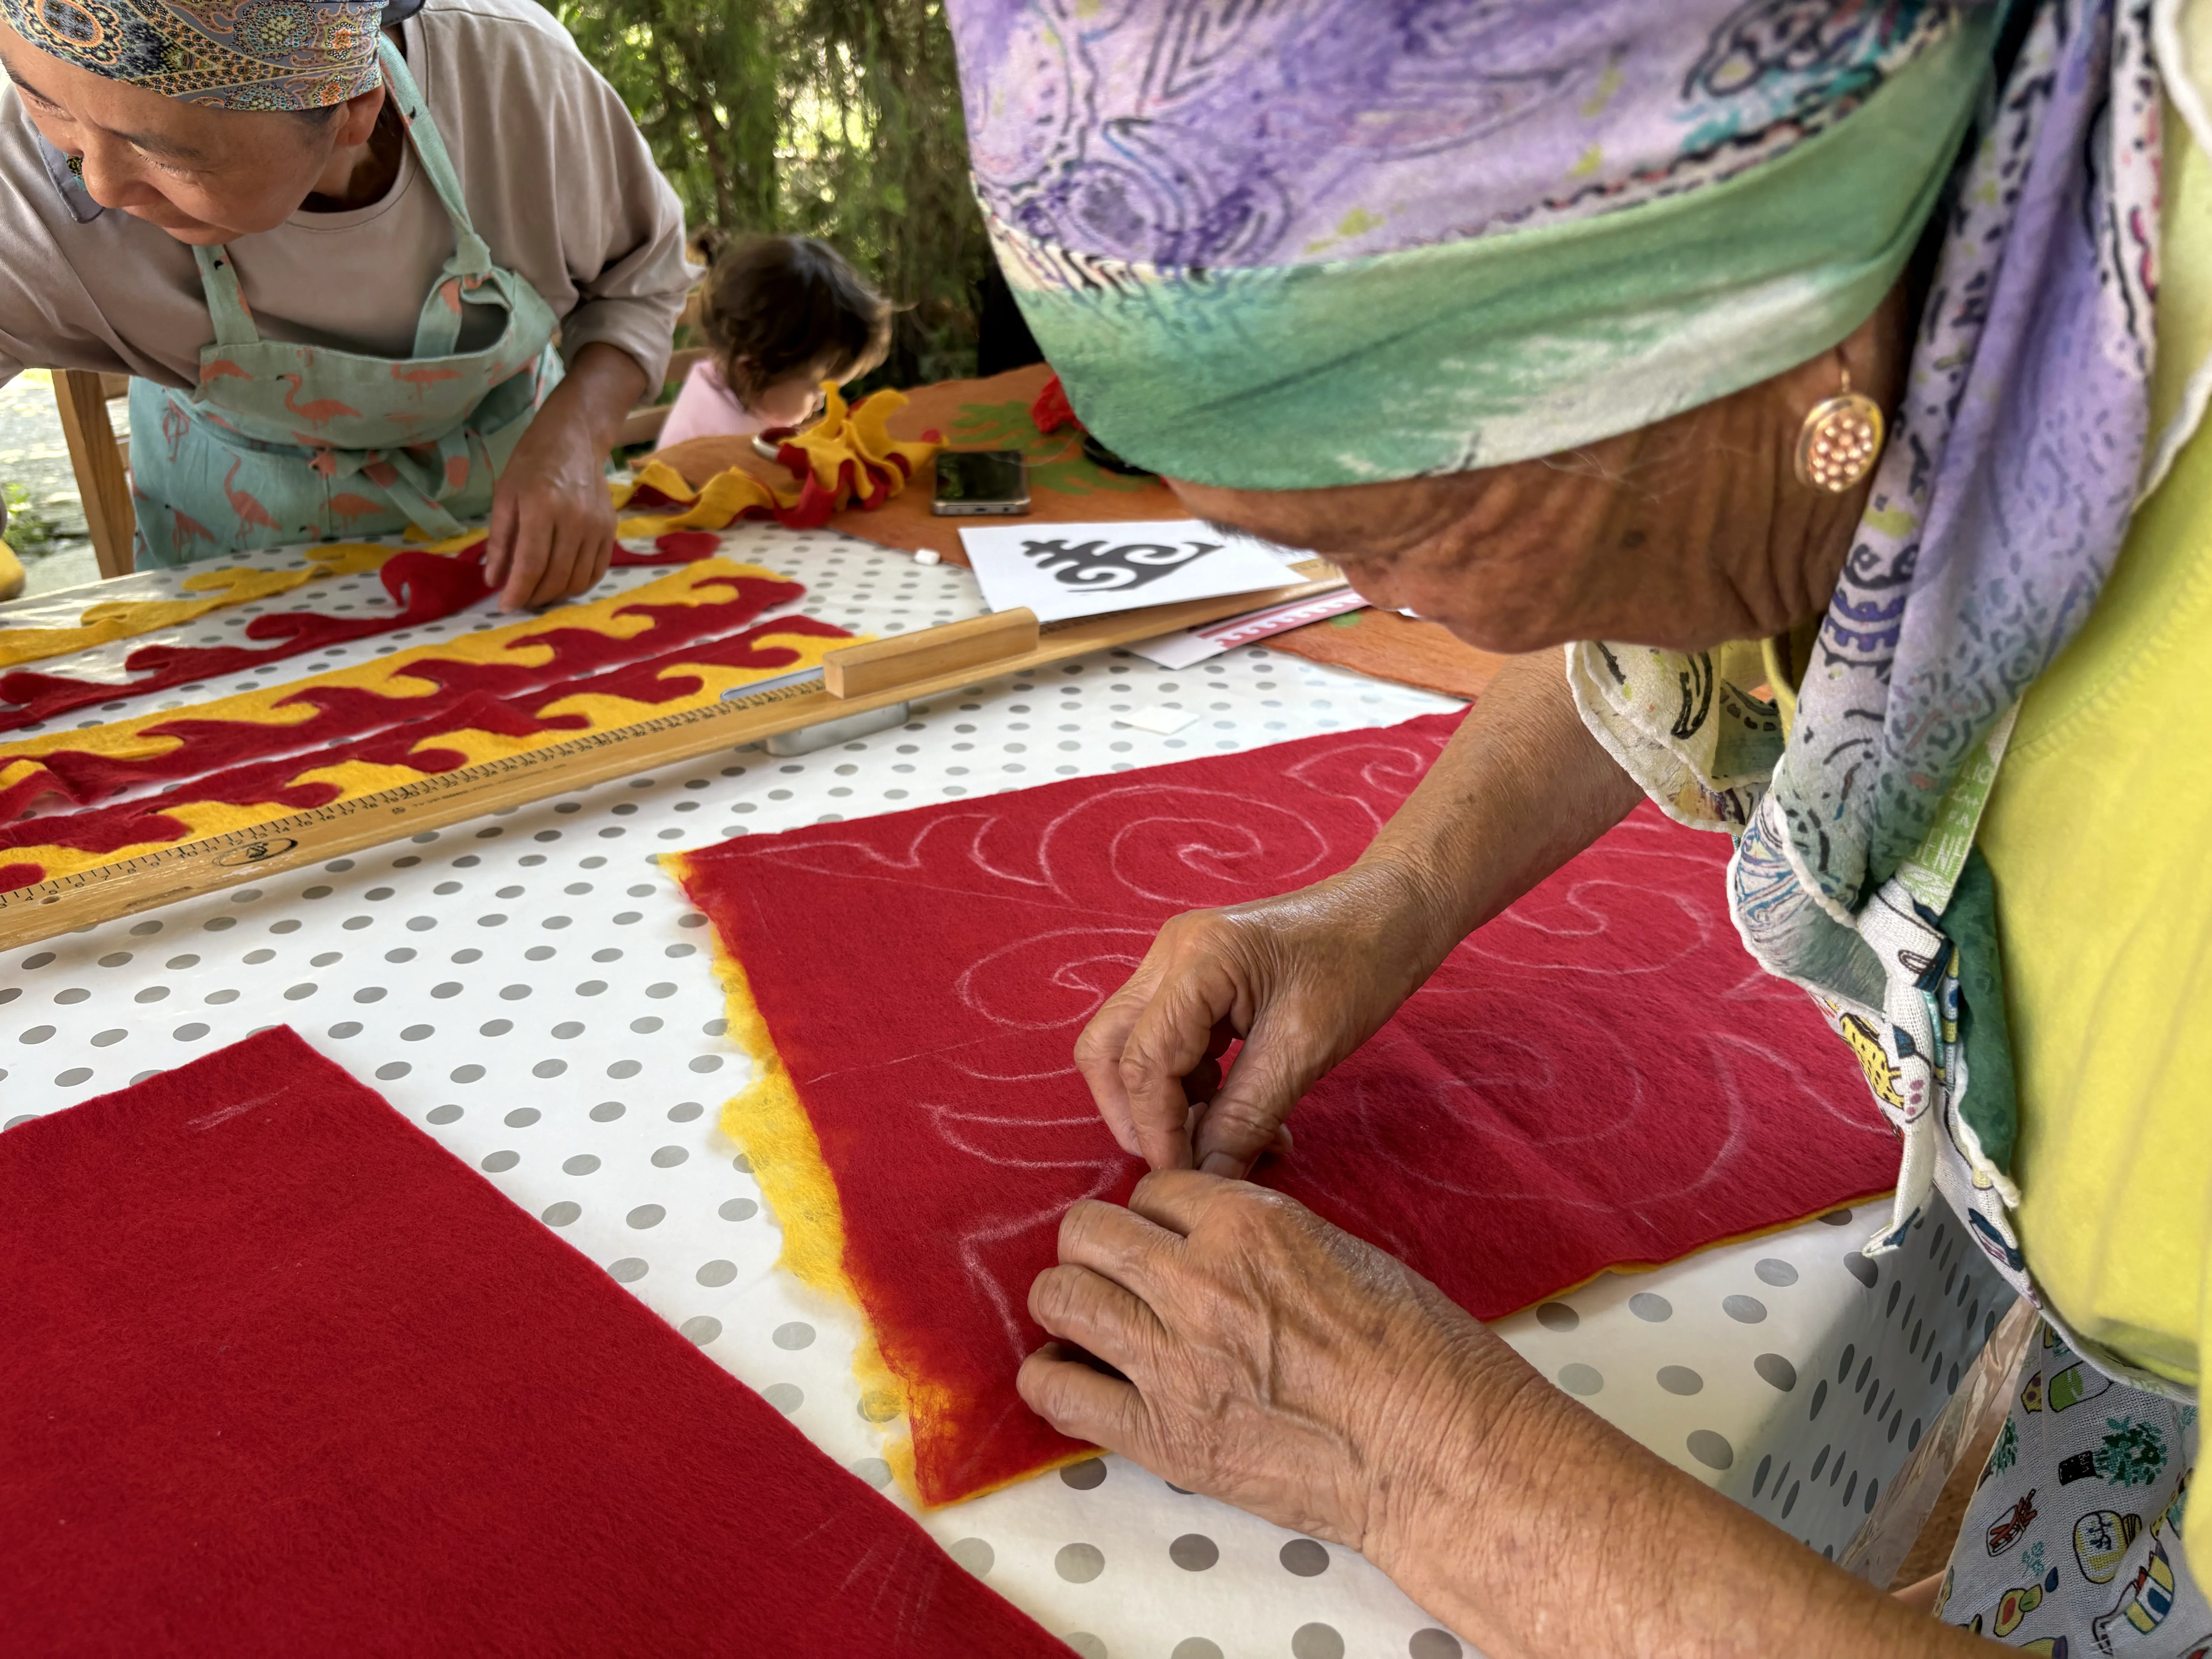
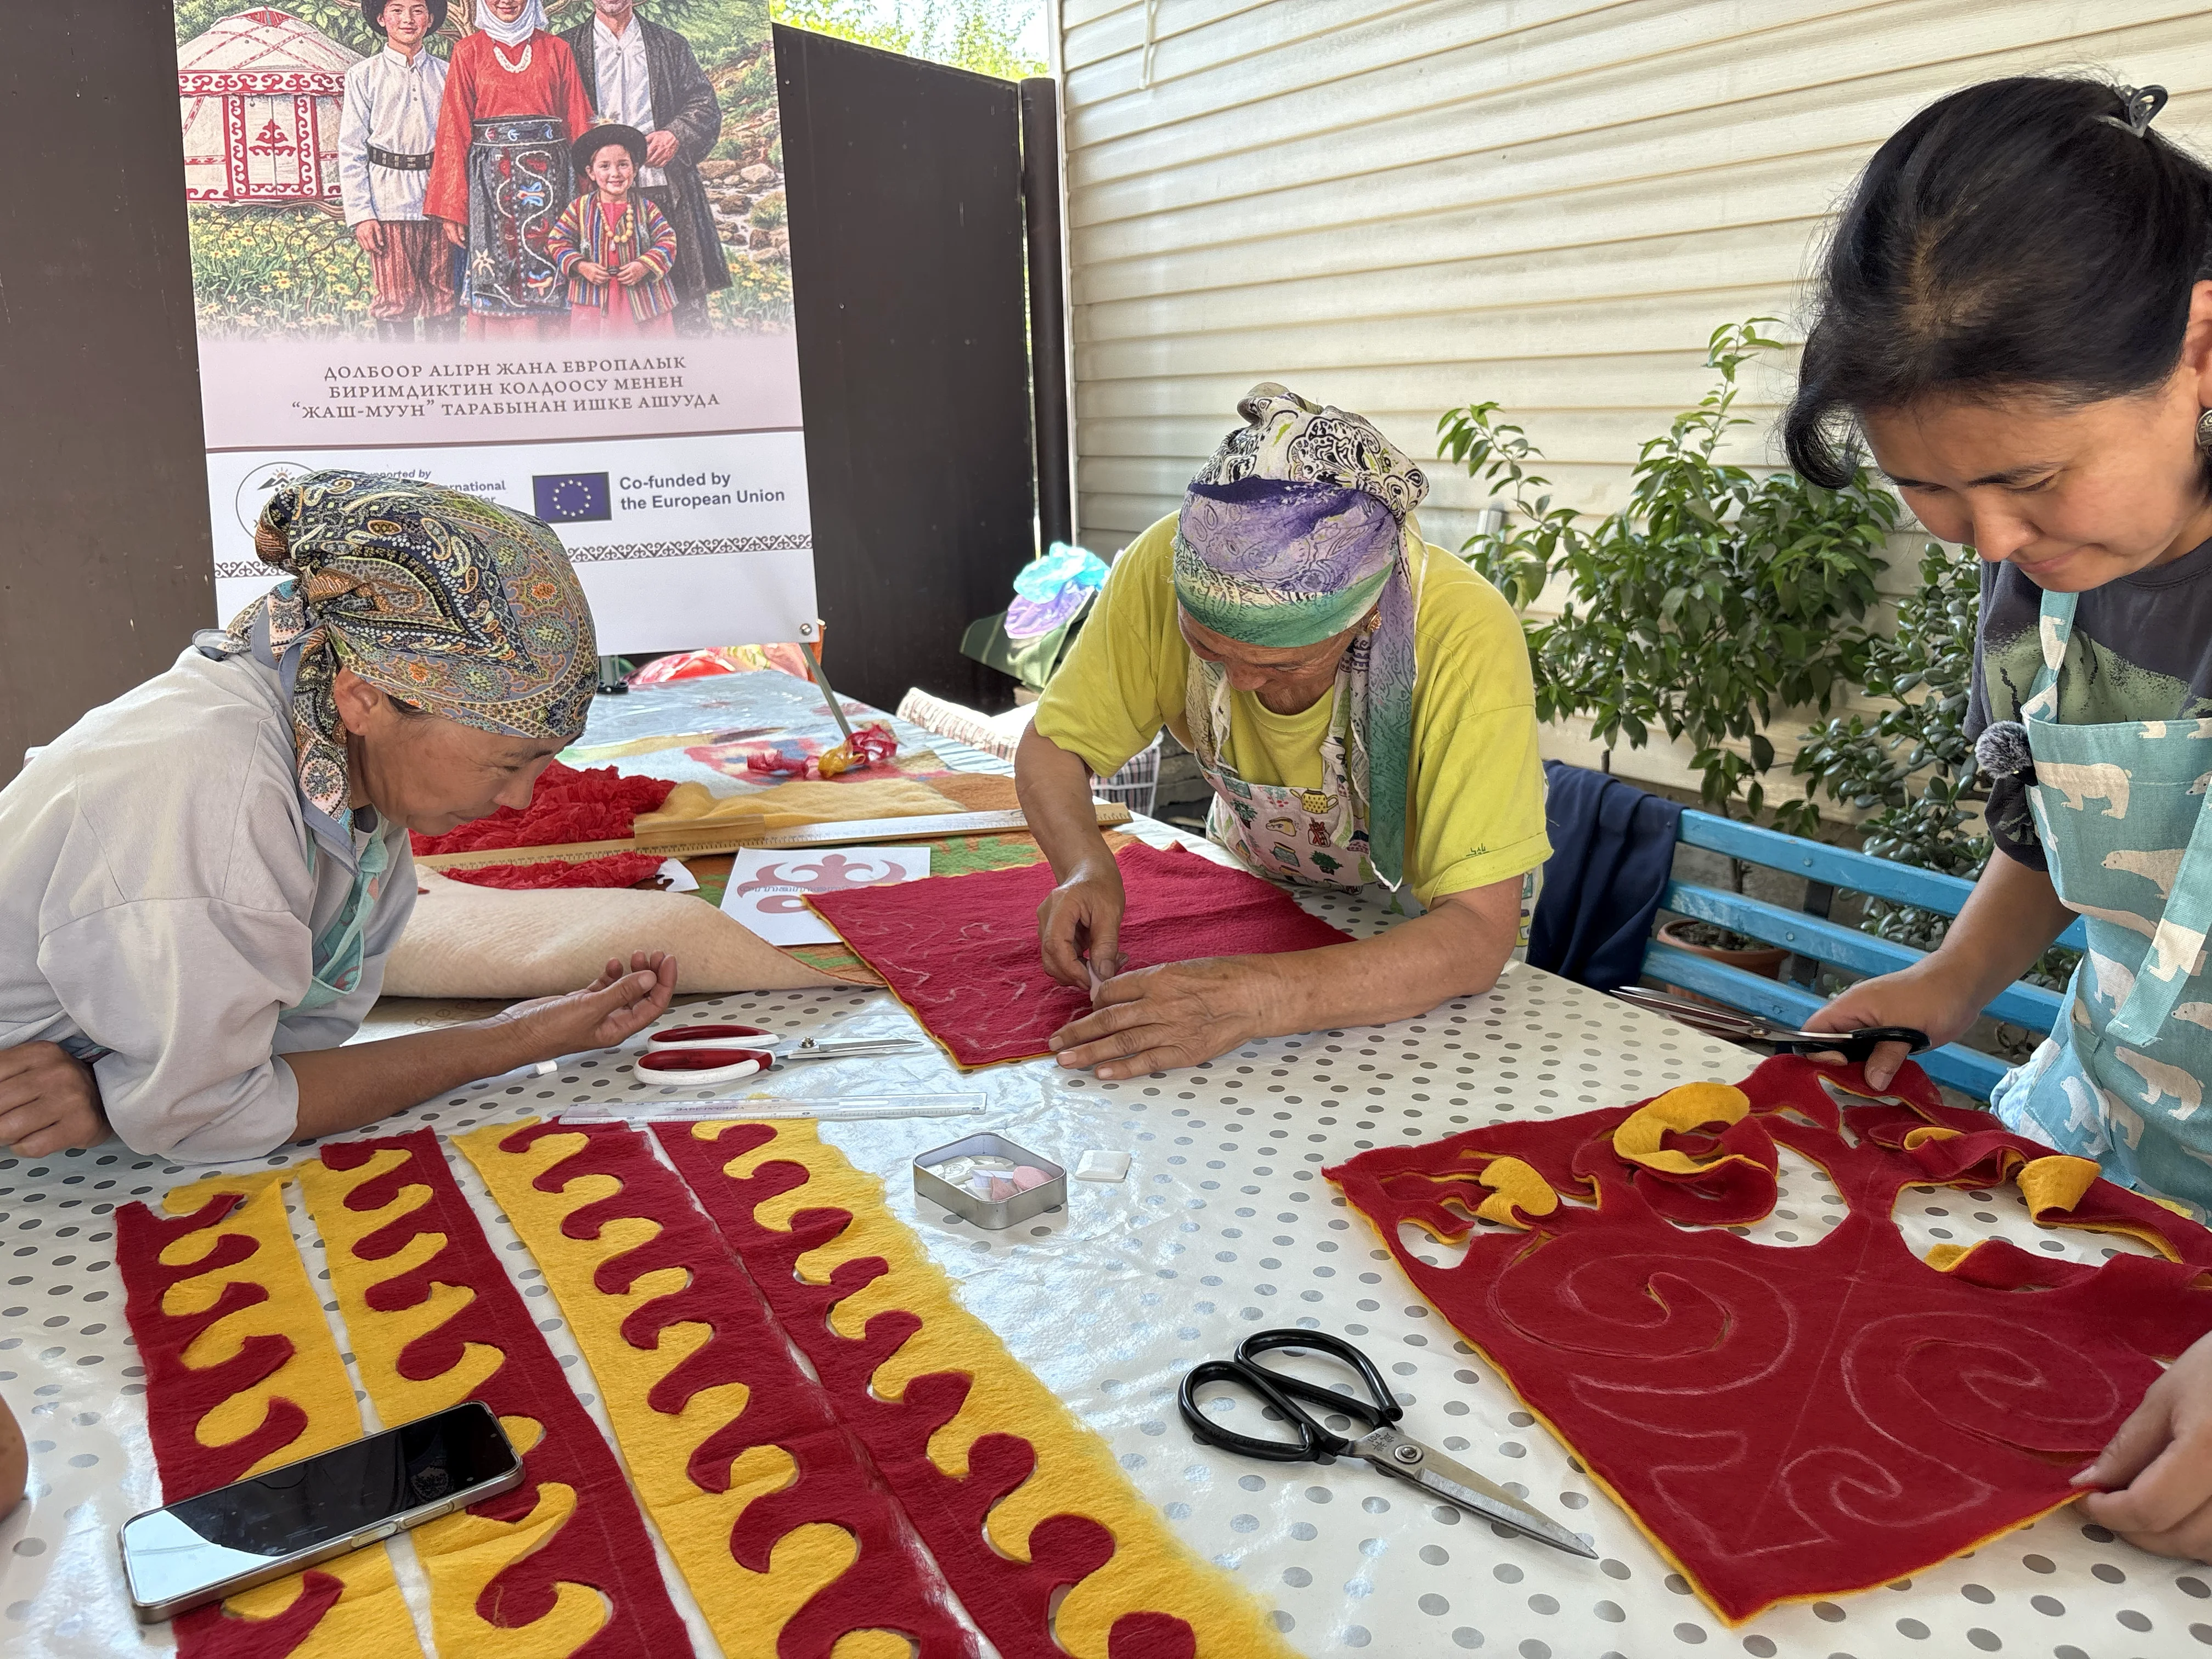
A craftswoman cutting the ornament out of red prefelt Working with the two contrasting prefelt cloths
  • Sketch and marking Draw the future composition on A4 paper (for example, 2 kinds of ornament for the scarf's 4 decorative blocks and “waves” to finish the edges). Put the two coloured prefelt cloths together, mark them into blocks with tailor's chalk and cut carefully with scissors.
  • Detailing Transfer the ornament onto the prefelt, pin the layers together so the blank doesn't shift, and cut out the ornament elements with jeweller's precision.

Important: Pay particular attention to the smoothness of the lines, the curves and the proportions of the details — the harmony and clarity of the whole finished composition on the fabric depend on them.

Artistic layout on silk

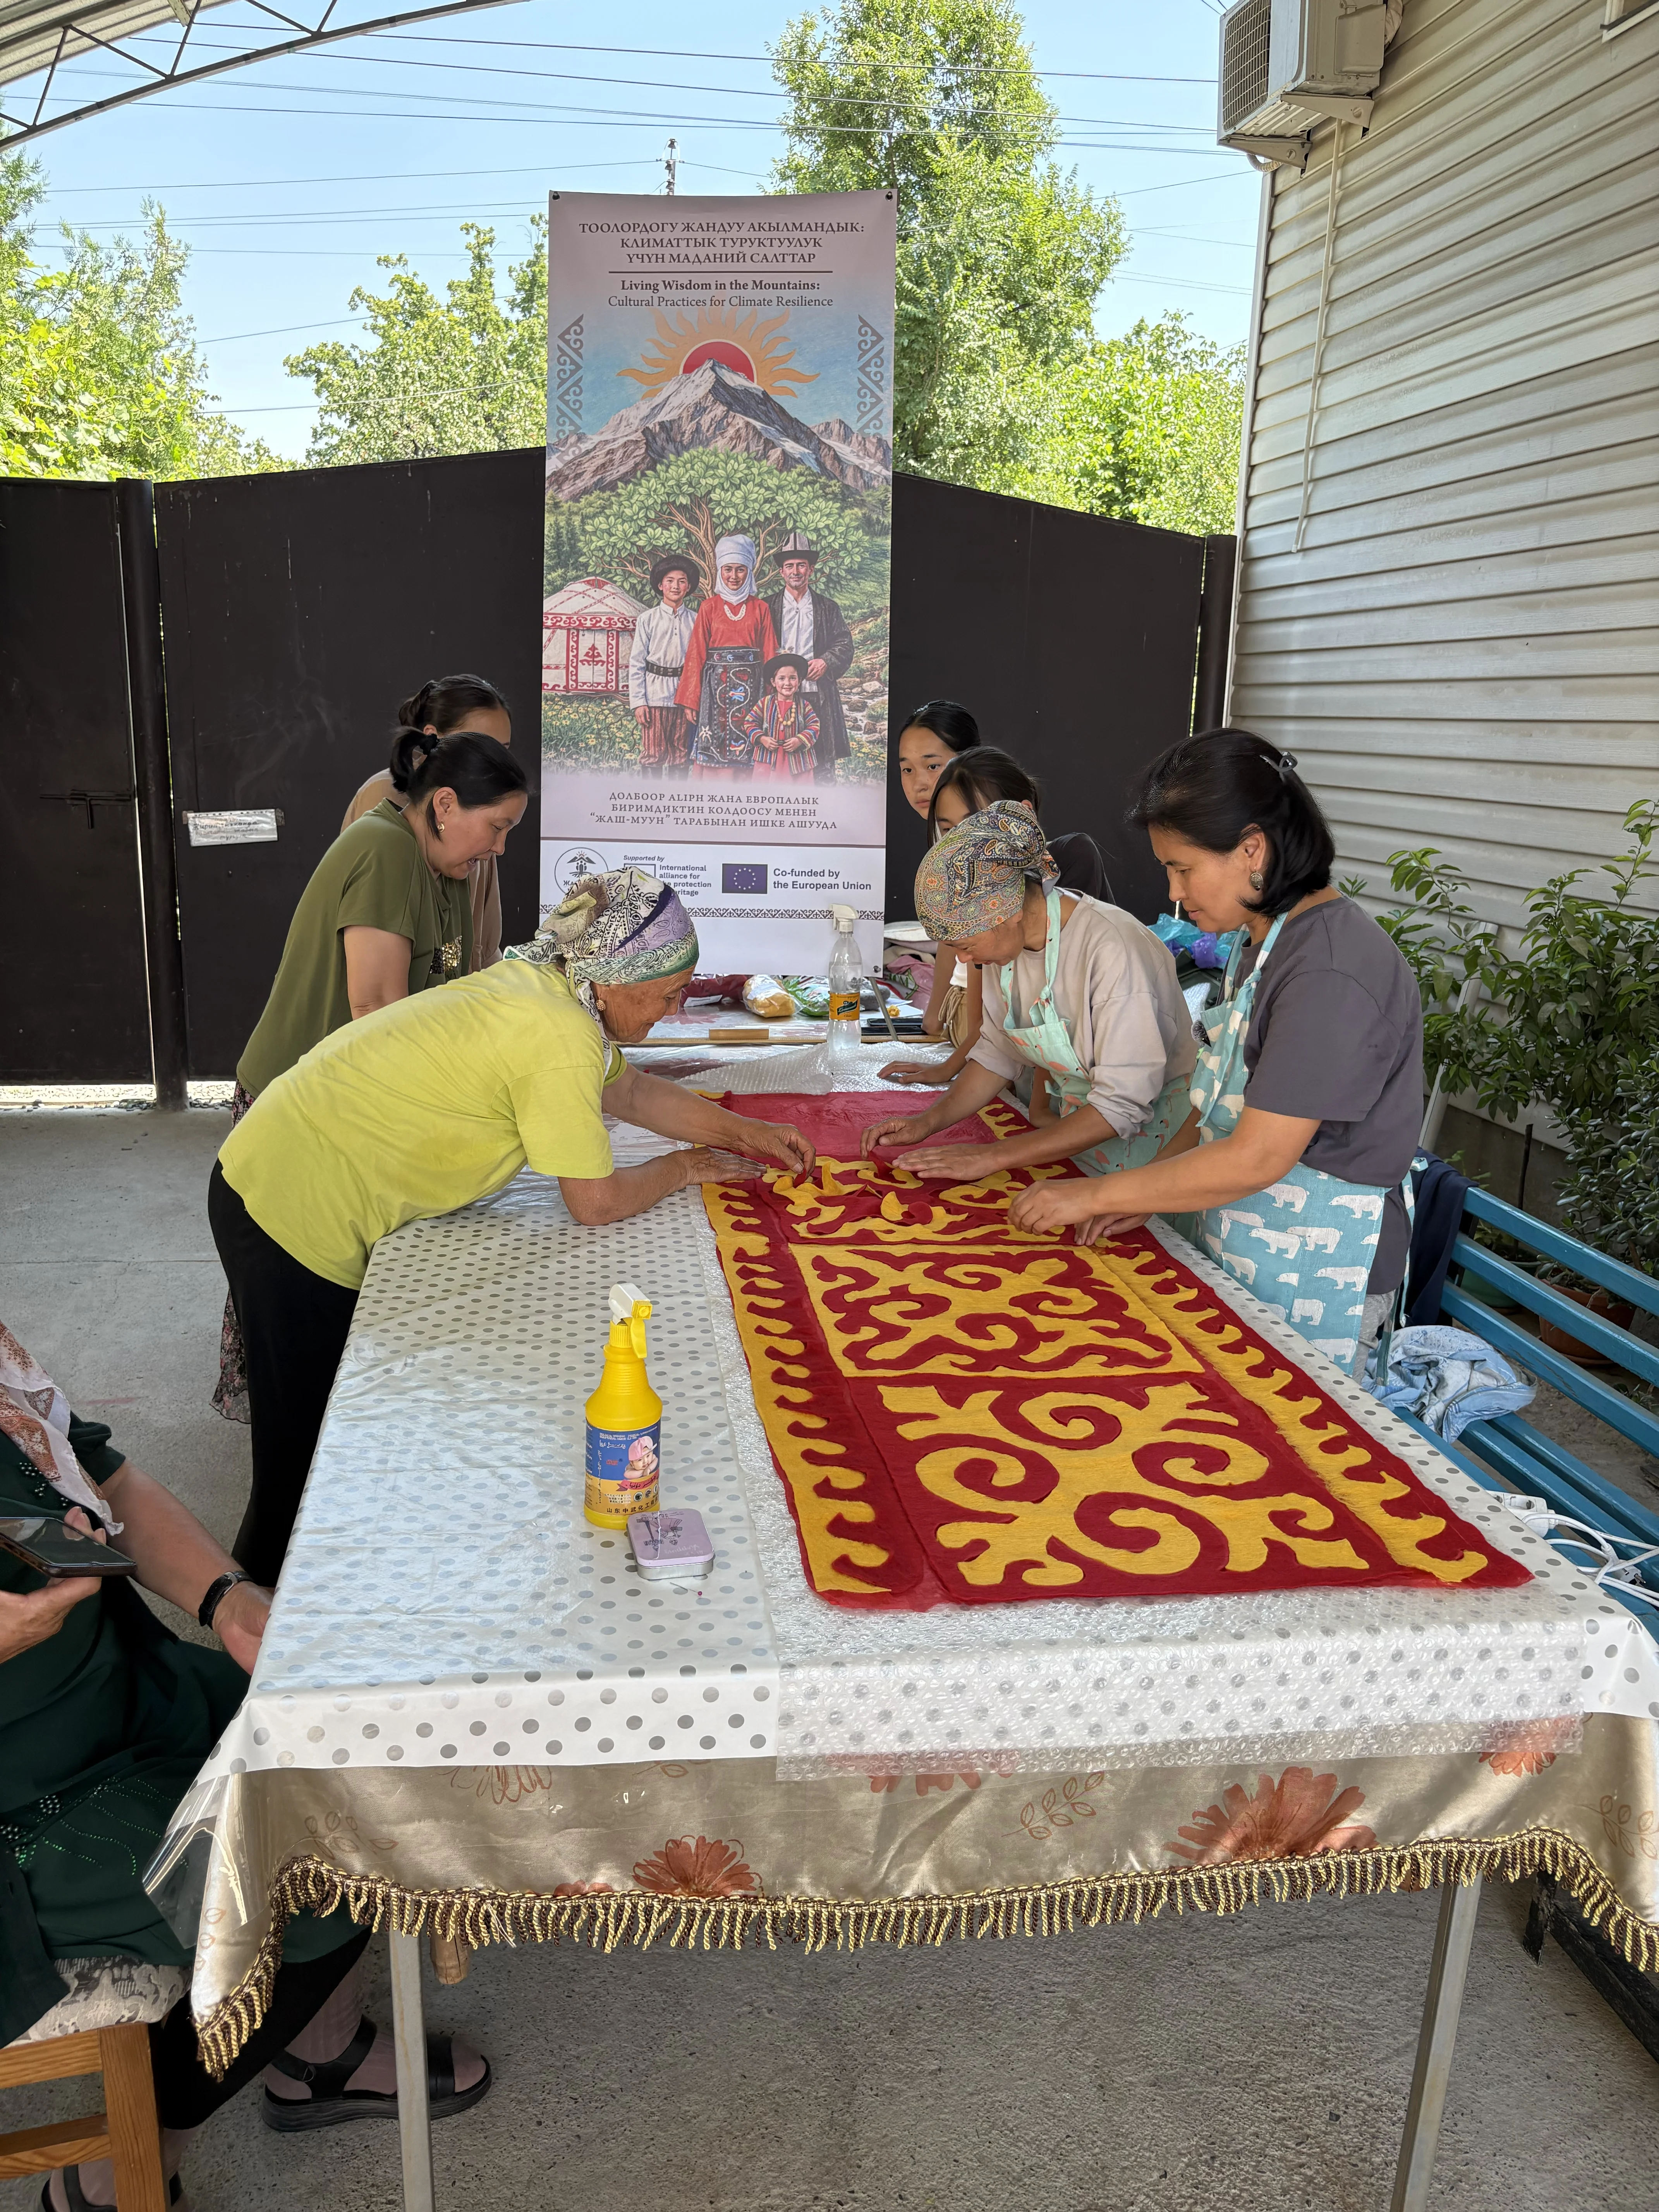
Silk and wool are a union of opposites. We carefully smooth out the most delicate silk base, like a clean canvas, and begin the mystery of transferring the pattern. The wool ornament elements are gently lowered onto the damp fabric, settling into a finished creative composition. Every detail takes its strict place, anticipating the final fusion of the two noble textures.

Laying out the ornament on the silk base on a long table
  • Preparing the base Unroll the silk cloth on the bubble wrap to its full length (200 cm). Lightly dampen the silk with clean water from the spray bottle for better bonding.
  • Composition Gently transfer the ornament elements cut from the wool prefelt and lay them out on the damp silk according to your creative intention.

Bonding the materials and nuno felting (the finale)

The culmination arrives — the maker's most labour-intensive marathon, felting the two together. Under warmth, soap and monotonous movements real magic happens: the merino fibres begin to penetrate the finest structure of the silk. Every touch of the hands, every movement of the roll and the finishing strikes against the table strengthen this union. Utmost patience is required for wool and silk to fuse forever into a single light, supple, flowing cloth.

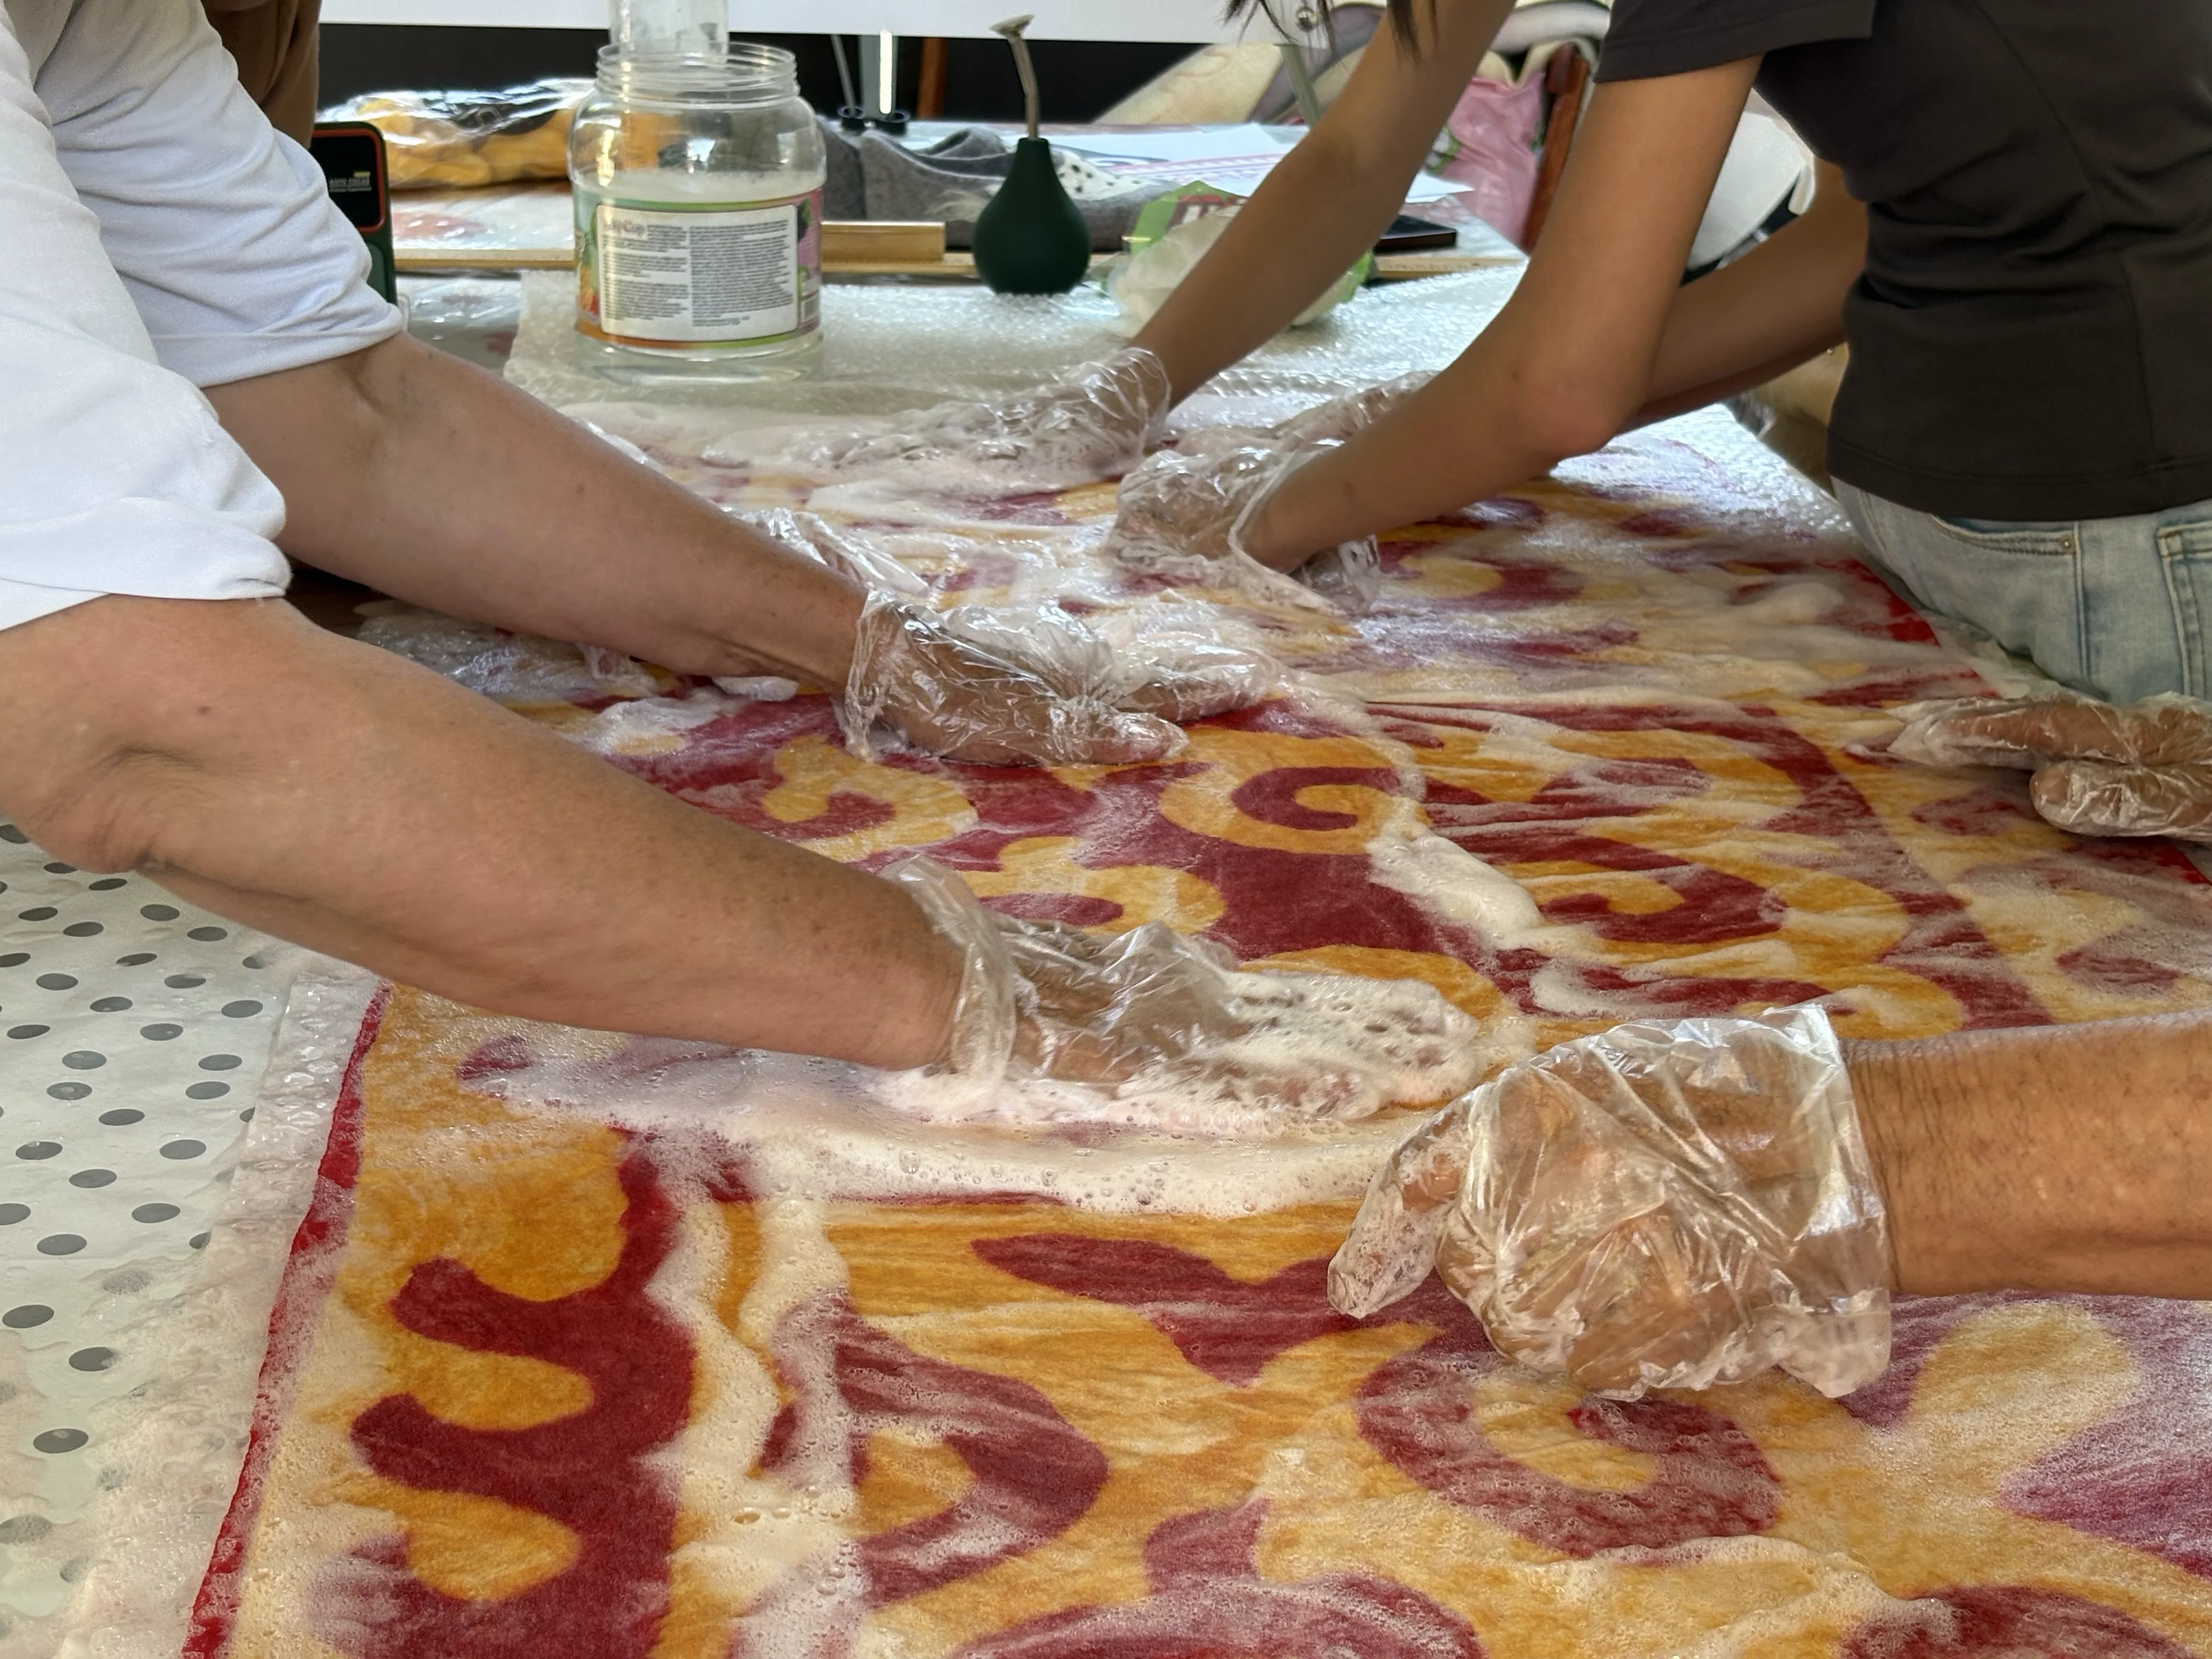
Participants rubbing the wool pattern in by hand Rubbing the pattern into the cloth, close up
  • Initial bonding Wet the whole laid-out composition generously with the soap solution. With polyethylene gloves on, begin rubbing the wool elements in gently, without strong pressure. Work carefully so as not to shift the ornament details out of place.
  • Felting in a roll Once the wool has fixed onto the silk, roll the piece up together with the bubble wrap into a tight roll. Roll it with your hands 30–40 times, then unroll, turn the piece over, roll it up again and repeat. Do 4–5 such sets from different ends of the roll.
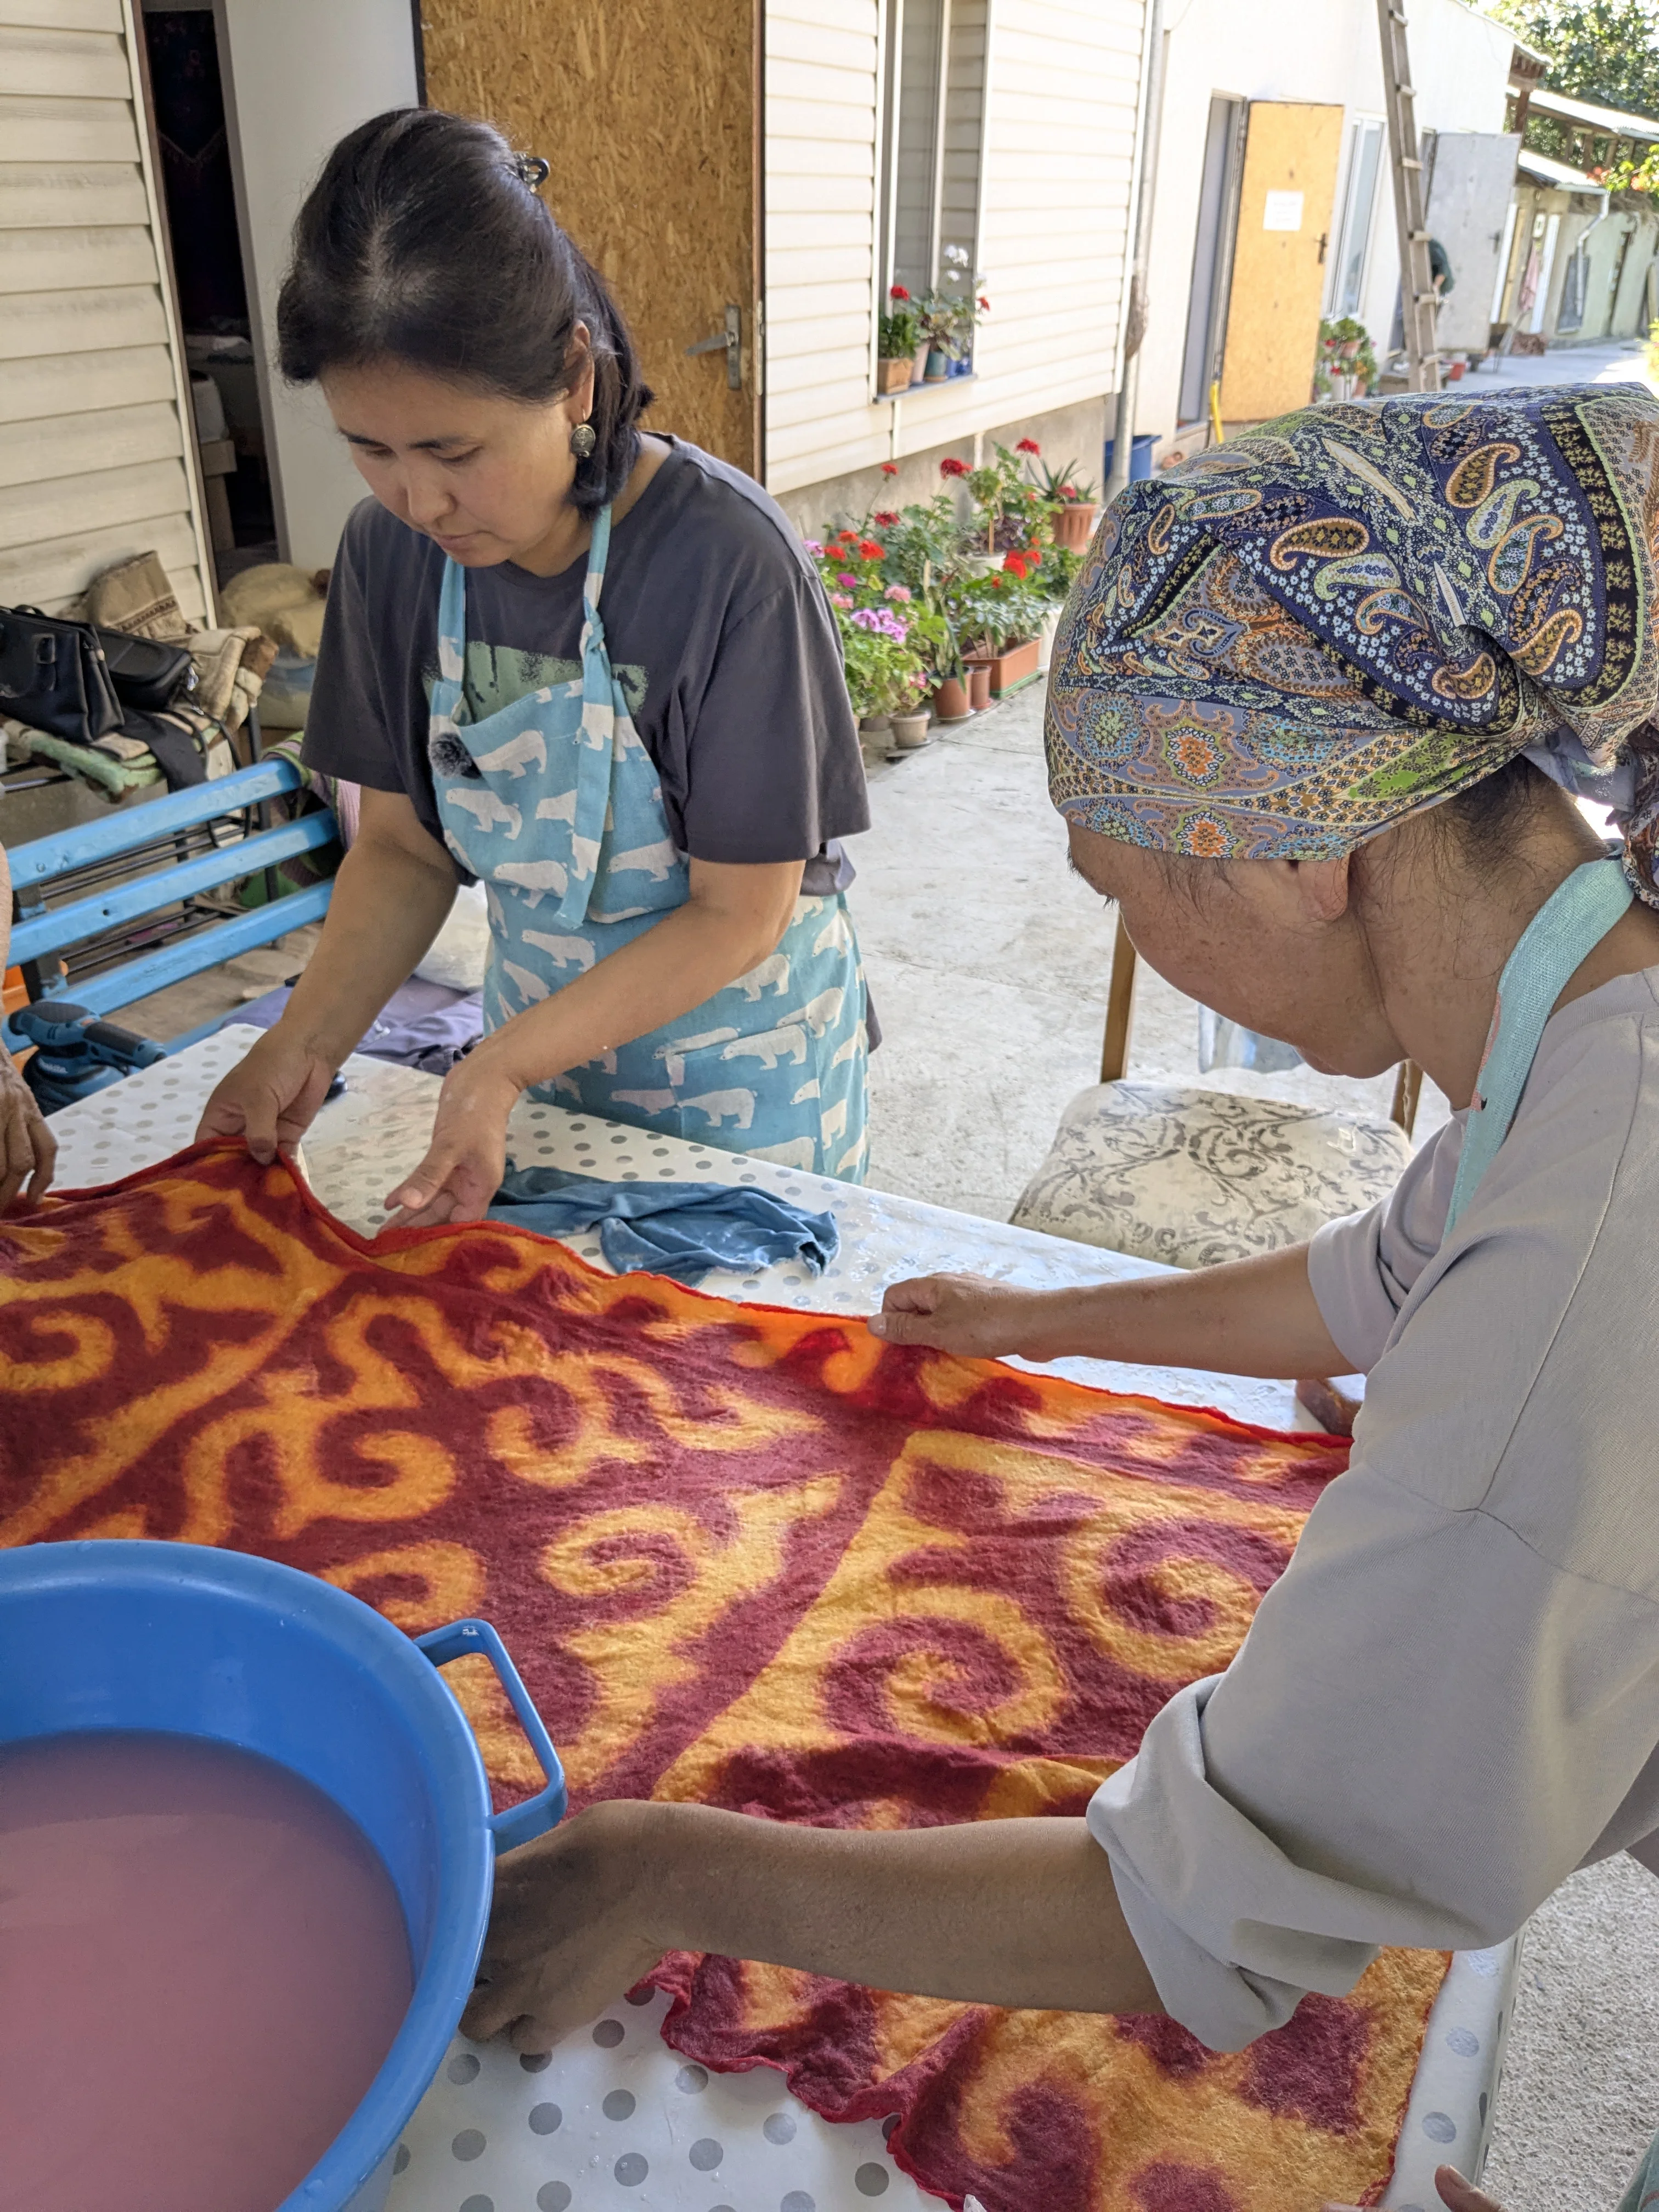
  • Final fulling (shrinkage) Carefully take the scarf off the wrap. Rinse it thoroughly in a basin of warm water, washing out the soap. Lather the damp piece by hand with baby or household soap and begin gently tossing (softly striking) it against the table — this gives the felt its final shrinkage and density; repeat 3-4 times. Rinse once more and dry the scarf laid out flat.

Important: Nuno felting demands utmost patience and delicacy. The wool fibres must pass right through the fine structure of the silk and anchor firmly in it, turning fabric and pattern into a single light, supple textile cloth.

Rinsing the finished felt cloth with its pattern

Materials and tools

Fine natural silk
1 piece, 60/70 × 200 cm (the base of the piece)
Fine merino wool (18–20 micron)
50 g each of two contrasting colours (for example, yellow and red)
Bubble wrap
80 × 250 cm (the working area for rolling)
Soap solution
mild dishwashing liquid (1 tablespoon per 1 litre of warm water)
Baby or household soap
Tools
watering can for wetting, spray bottle, tailor's chalk, tailor's pins, scissors, A4 paper for sketches, polyethylene gloves
Optional
orbital sander (to speed up bonding, if desired), basin of warm water